I play and teach traditional music, and I’ve found that students often struggle with learning tunes by ear—the music is really fast, it’s intimidating, and it’s hard to get started. Picking up music quickly by ear is a skill worth developing, and I’d like to help you do it.
It’s really valuable to slow the music down at first. Eventually, you’ll be able to sit in a session and pick the tunes up on the fly, but let’s start small. Technology can help you a lot here!
We’re going to use REAPER, an awesome digital audio workstation software package, to slow down music while keeping it at the same pitch. The “at the same pitch” is important because most software lowers the music’s pitch—its key center—when it reduces the speed. That means you can’t play along with it anymore, and that’s not useful for us.
Get yourself a copy of REAPER at www.reaper.fm and then come back to this tutorial.
Watch how to slow down the tunes
I recommend watching the video, since it shows all the steps and lets you hear the results.
( you may want to watch the video in full-screen mode, or see it at https://www.youtube.com/watch?v=h_9KLaCNB_Q&feature=youtu.be )
How to slow tunes down (walkthrough)
Open REAPER
Open the REAPER application and start a fresh project if needed. If you’re just getting started with REAPER, it should open a blank project automatically.
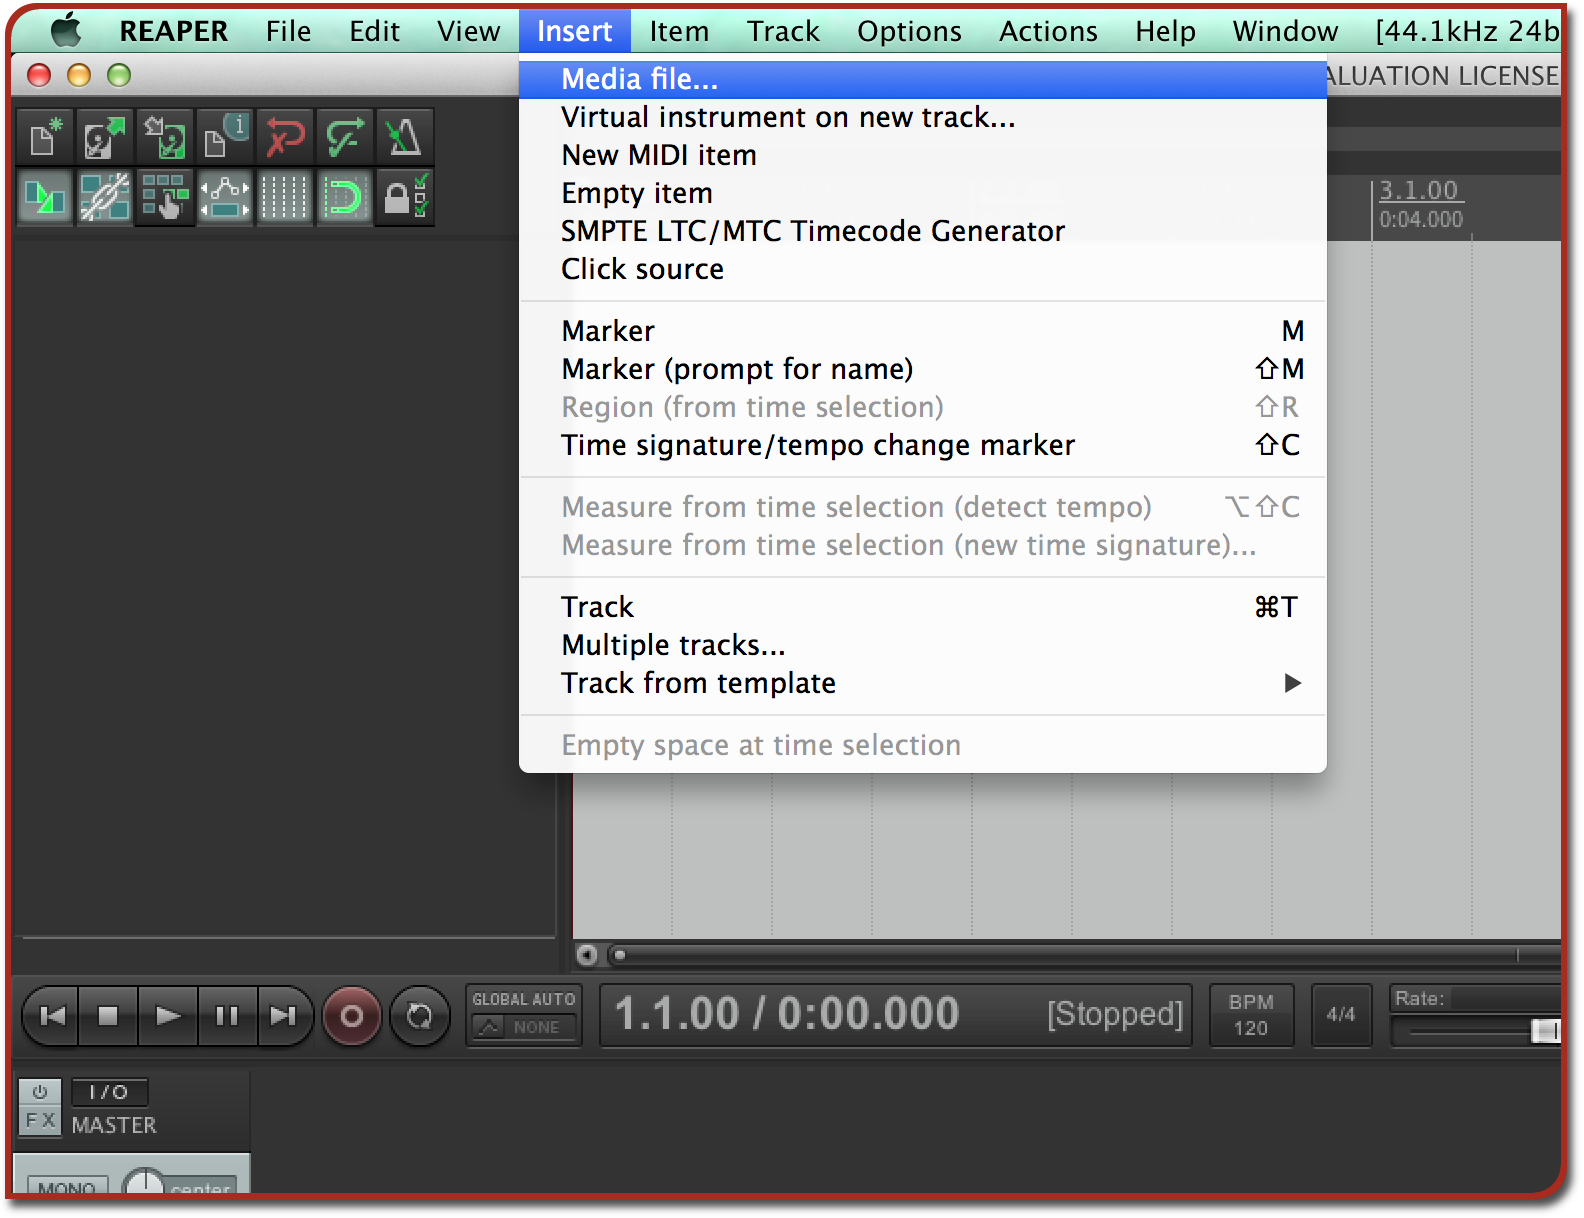
Insert Media File
Go to the “Insert” menu and select “Media file…”.
This will allow you to add an MP3, MP4, or other audio file to the project. If you’re using iTunes or some other digital audio player on your computer, its default music files ought to work just fine.
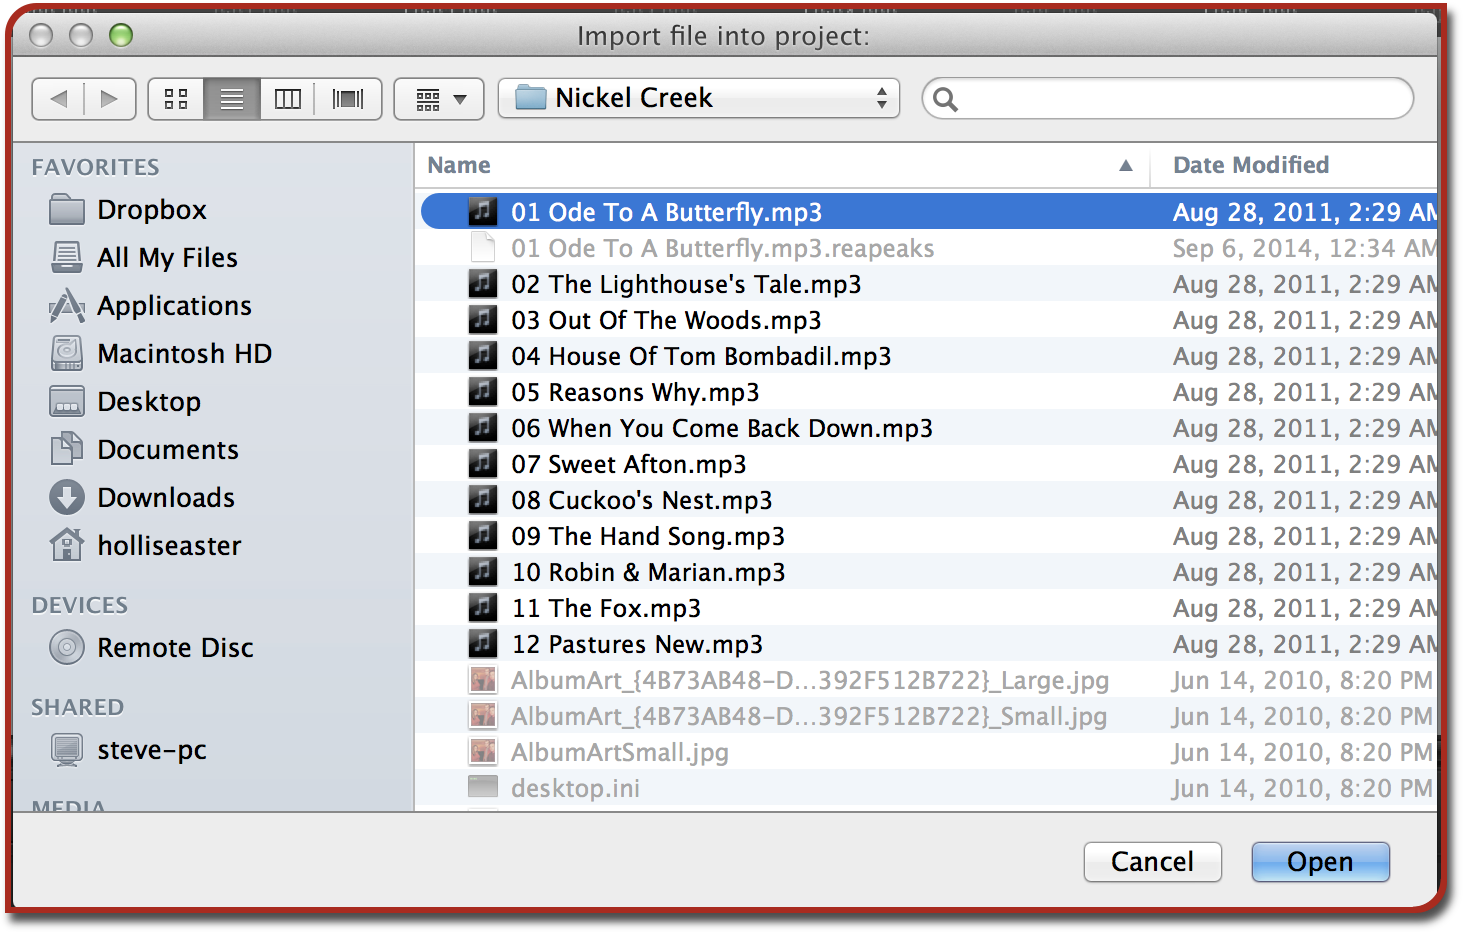
Here’s what you’ll see after you select a file to insert.
 (You can also click-and-drag a track directly from iTunes into REAPER. Just click on the track in iTunes and switch windows to REAPER. You’ll see a dark box appear under the cursor. Drag it to the left, to the beginning of the project, and release the mouse. REAPER will import the file automatically for you. Slick!)
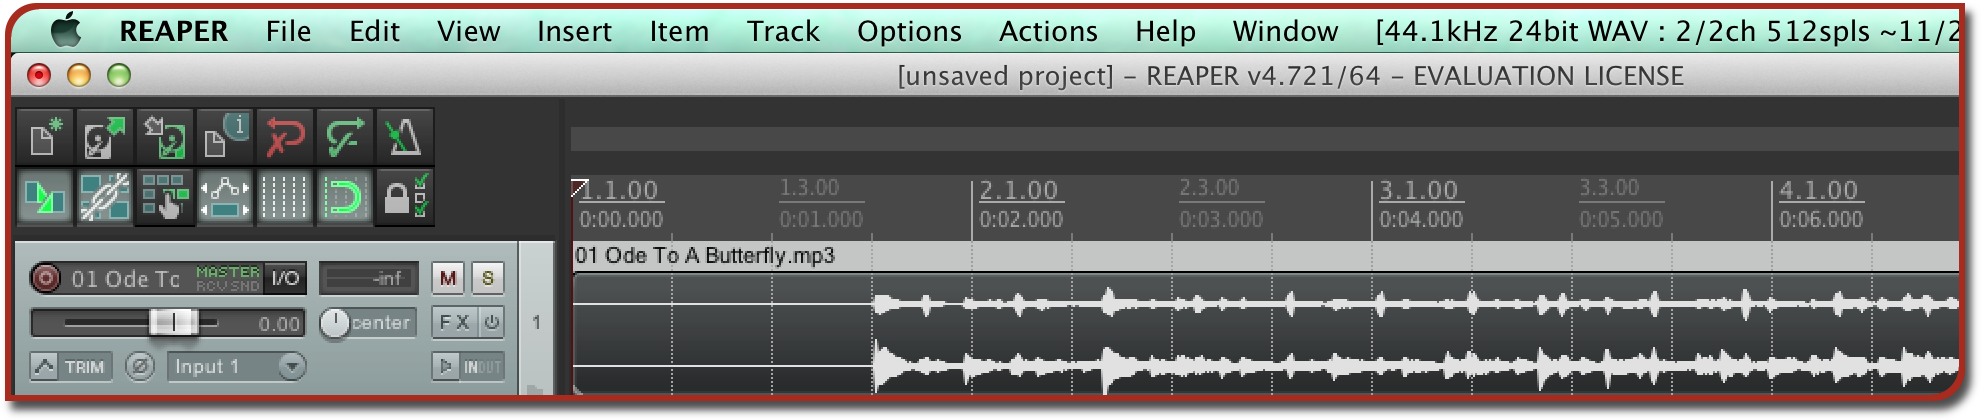
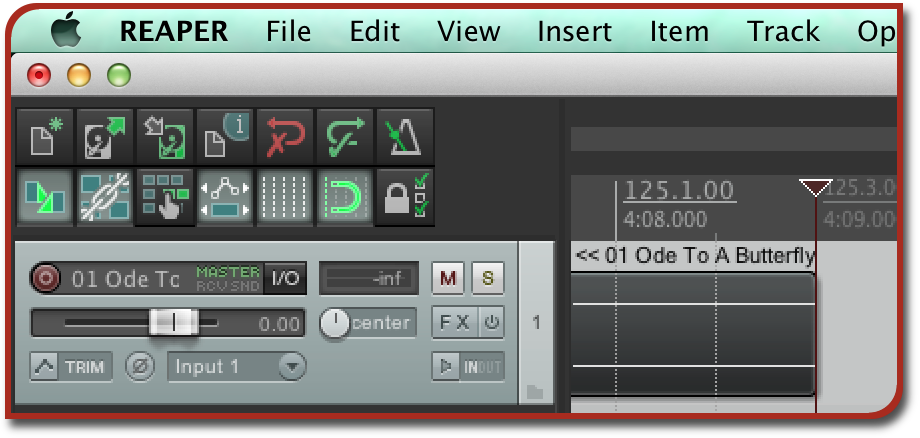
Press space bar (or the play button) to test your audio setup and make sure you can hear the audio. You may need to press the rewind button (farthest left) first.
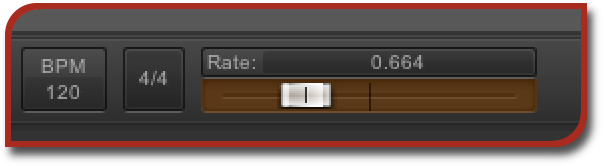
Find the “Rate” slider
Look at the right side of the control bar that has the stop/play/pause buttons in it. You should see a horizontal slider with the word “Rate” above it, and a number (probably 1.0). This is the current master playback rate in REAPER.

If you just drag the Rate slider right now, the music’s speed will change, but its pitch will change too. So if you’re trying to learn a tune in E major, you’ll hear it slower but now in D or C or even A major. That’s usually not desirable; we want to keep the pitch stable and keep the pitch the same.
Right-click on the Rate slider
This brings up a context menu. If you’re on a MacBook Pro like I am, you can either hold control while you click or, much easier, click with two fingers on the trackpad.

Select “Preserve pitch in audio items when changing master playrate”
Make sure there’s a checkmark next to the “Preserve pitch” menu item. You can ignore the rest of these options for the moment.

Drag the slider to set your new playrate (playing speed)
I like to do this after starting the music again (press space or click the play button), so I can get a sense of how fast I want it.
Each time you change the playrate, the music will drift to a different key momentarily, but it’ll snap back to the original key after a half-second or so.
And hey presto, you’re playing in E major, but at 85 beats per minute instead of 175!
I guess that makes it “hey andante”.
Recommendations for learning by ear
This technology gives you a powerful tool, but it can become a crutch if you overuse it.
Practice trying to pick up the tunes at their original speed, and only use the slow-down technique when you’ve tried the quicker tempo and have found yourself needing a little extra help.
After you’ve gotten the tune figured out, keep bumping the speed back up until you’re playing it at the original tempo.
I’ve found this useful for learning the bagpipe and fiddle tunes I hear on albums, but it’s also good for figuring out what kind of ornaments a favorite musician uses. I sometimes use it to record my own playing and then listen back at a slower speed so I can diagnose problems and figure out where I’m falling off a tune or playing with bad technique. Slow practice is really valuable.
Have fun, and happy playing!
Get REAPER at www.reaper.fm, and please—pay the money to register it if you like using it. It’s not expensive.


thanks for this quick tutorial! very helpful. great music, as well.
-darren
Wow, so simple and helpful, thank you!!!
I kind of liked it, but it’s slowing down the whole thing, not just one track. So, no $5 for you! Lol